Yamaha XVS 650 V-star CV40 Single carb kit
BILLION — XVS 650 V-Star Single Carb Conversion Kit
Simplify your setup and unlock smoother performance with our CV40 single carb conversion kit for the Yamaha XVS 650 (V-Star / Dragstar). Designed for riders chasing reliability, power, and a cleaner look, this kit replaces the factory dual-carb system with a single, precision-tuned setup.
POWER GAINS:
- Stock OEM xvs650 32HP (OEM TWIN CARB)
- Tuned twin carb power gain 35HP (9% increase)
- Our CV40 single carb kit 38HP (18% increase!)
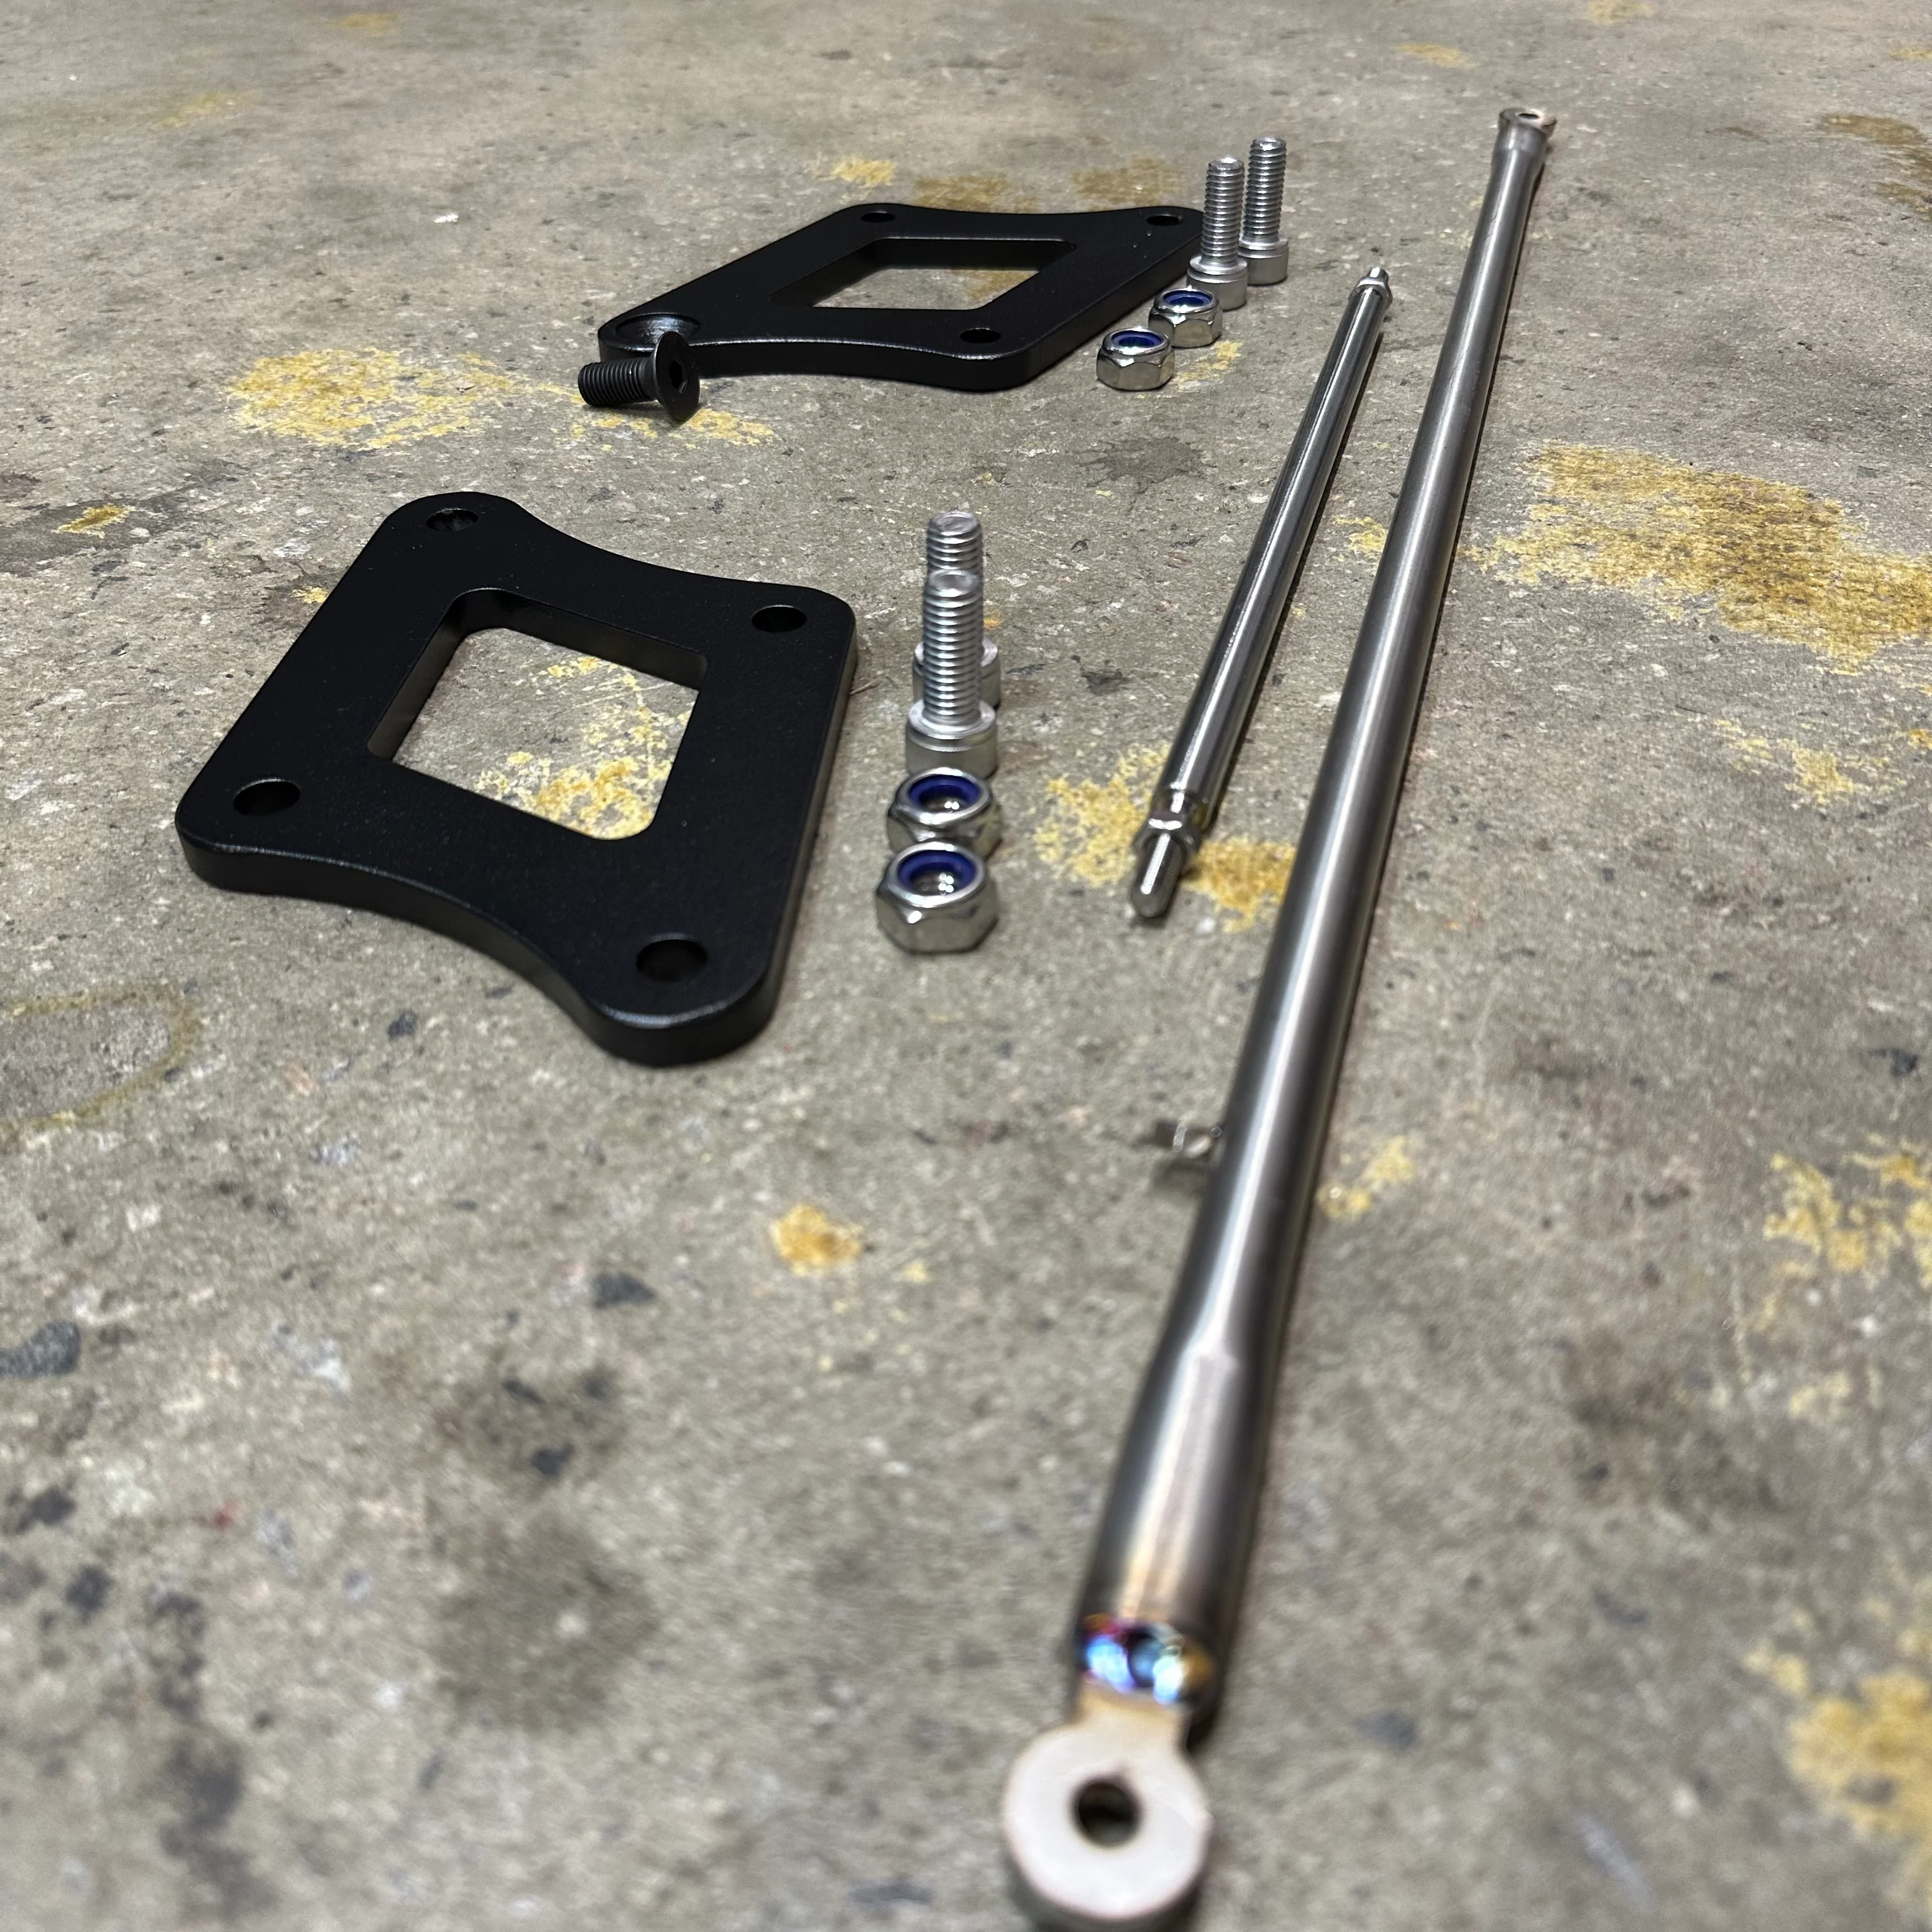
The kit includes an adapter bracket to mount your TPS (throttle positioning sensor) onto the new CV40 carb for smooth throttle response
Our Single carb kit includes:
- CV40 style carburetor
- 3D printed aluminium intake manifold
- TPS adapter bracket (throttle positioning sensor) AL6061
- Rubber boots and clamps
- Connection hose and clamps
- Main jets; 175, 180, 185, 190
- Pilot jets; 40, 42, 45, 48, 52
- Mixture ‘Quick-Adjustment’ screw
- Choke cable
- Fuel hoses
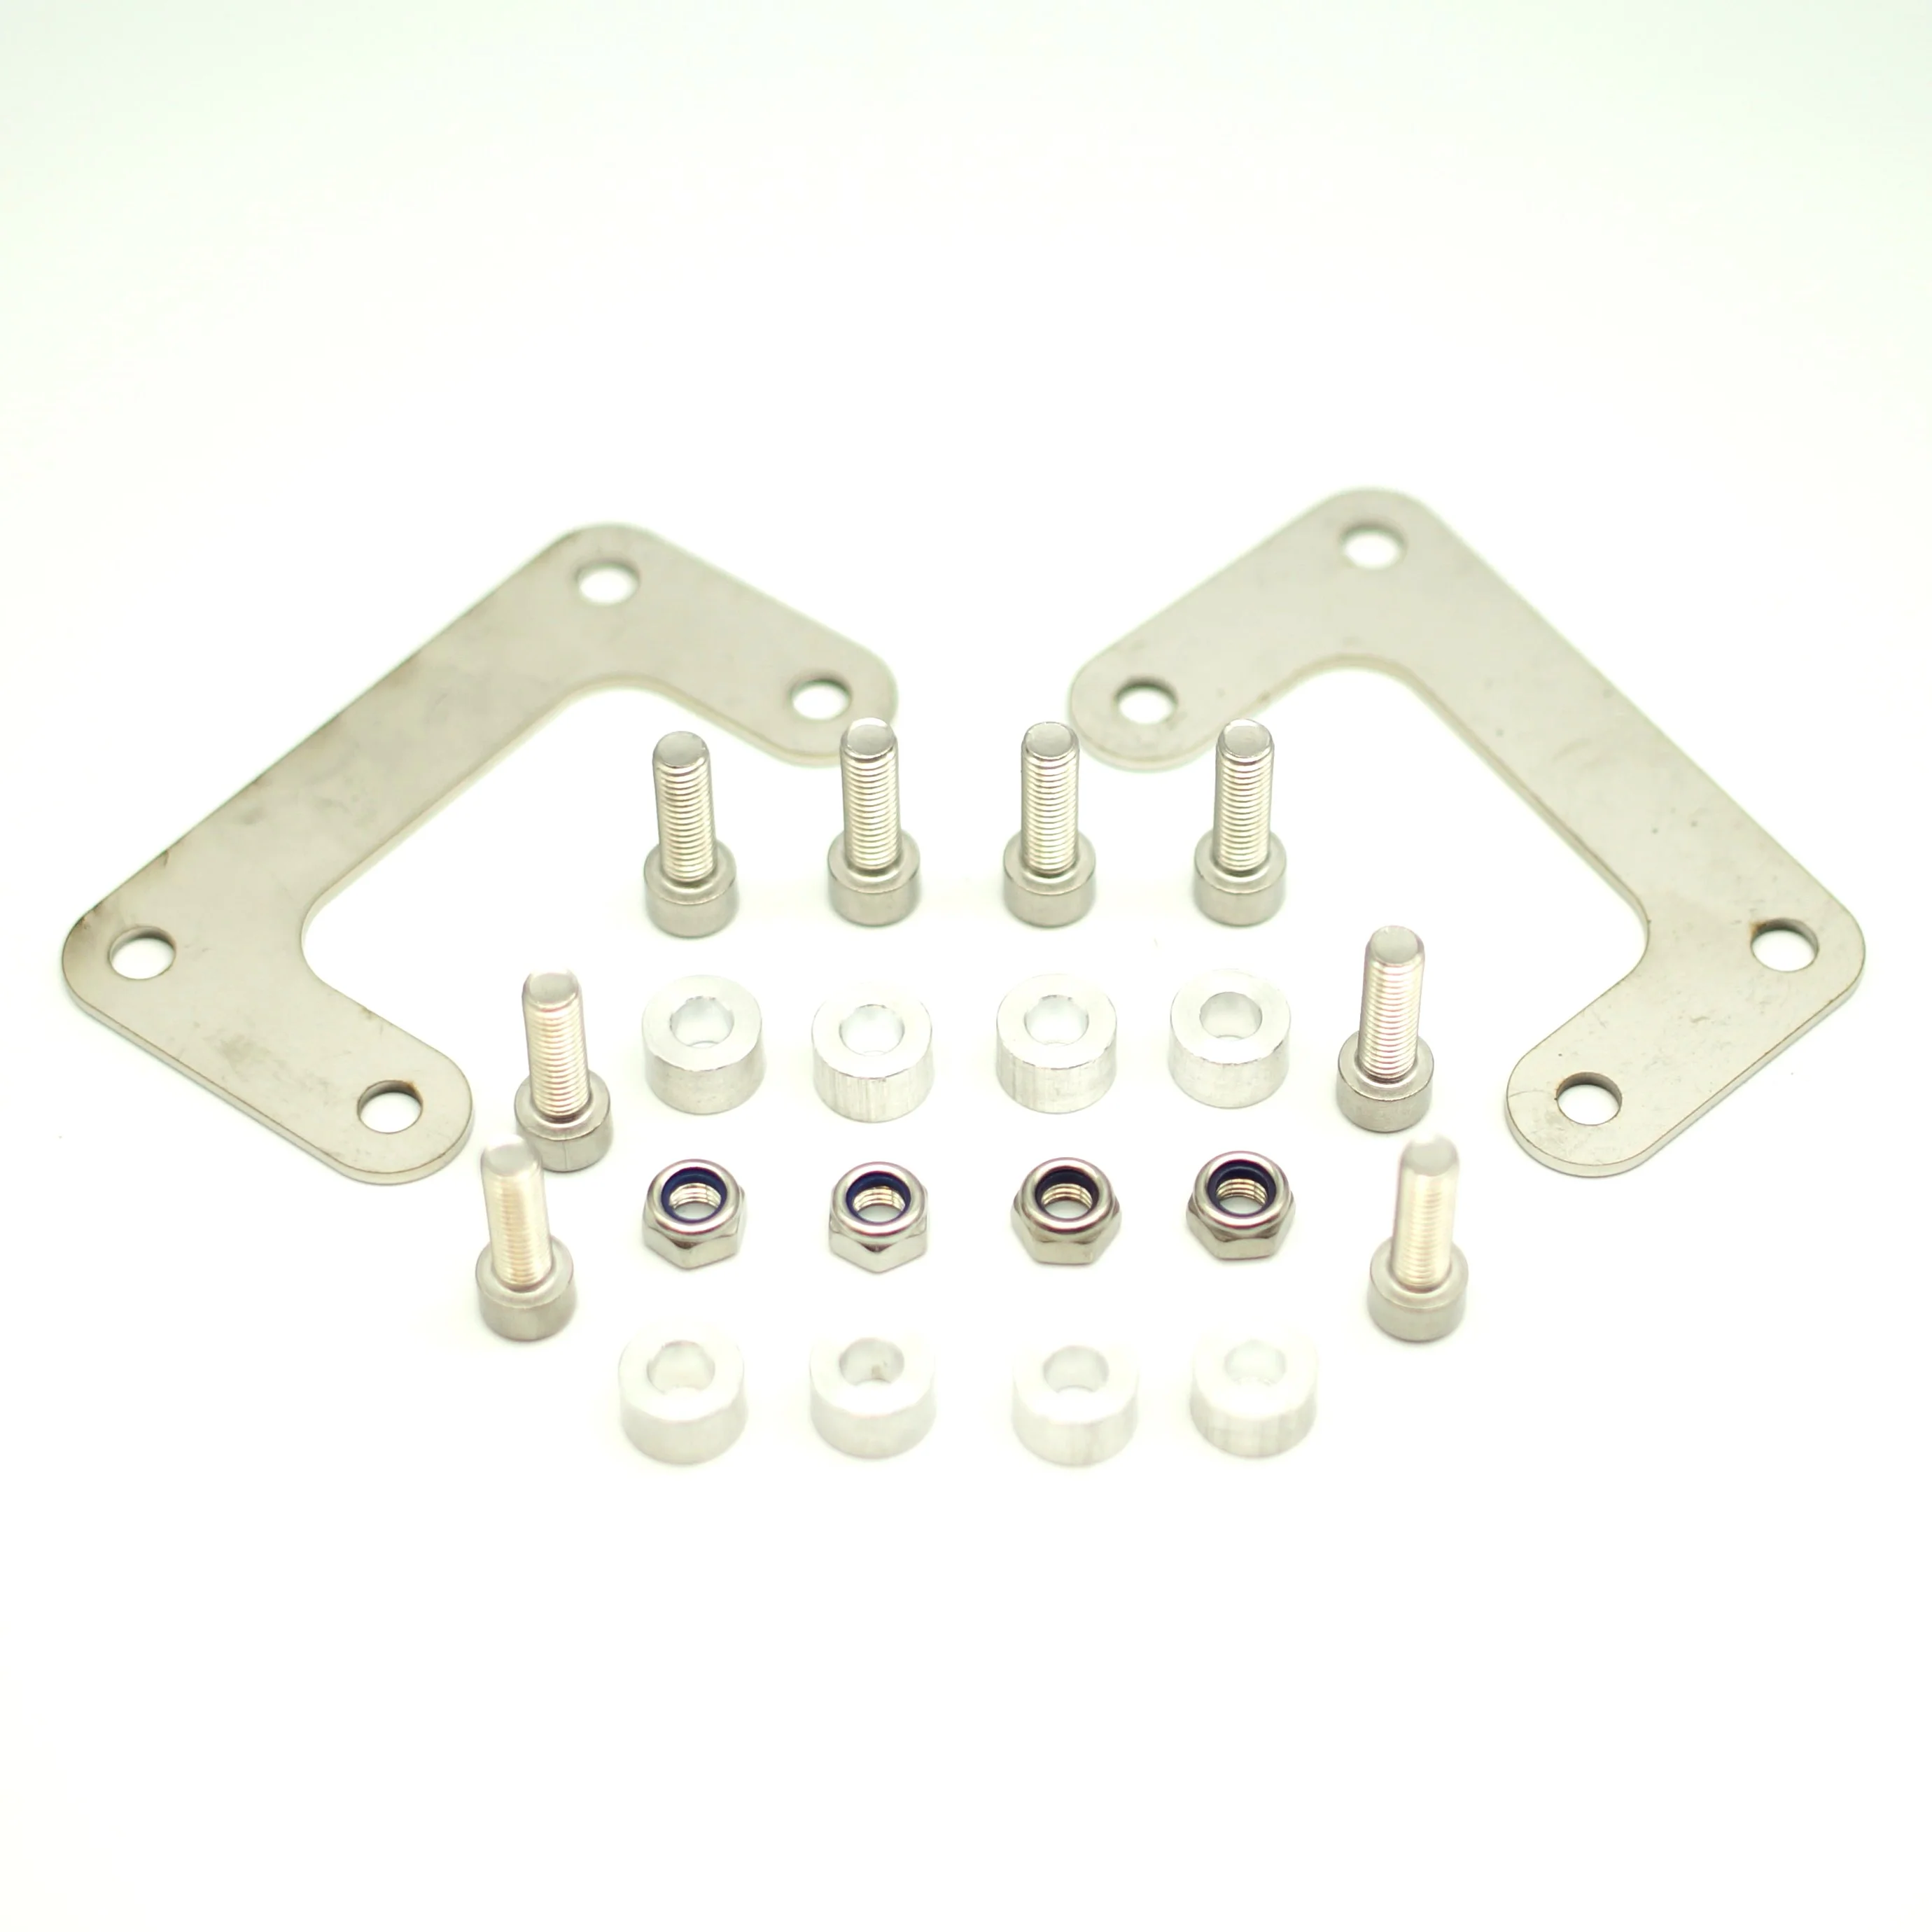
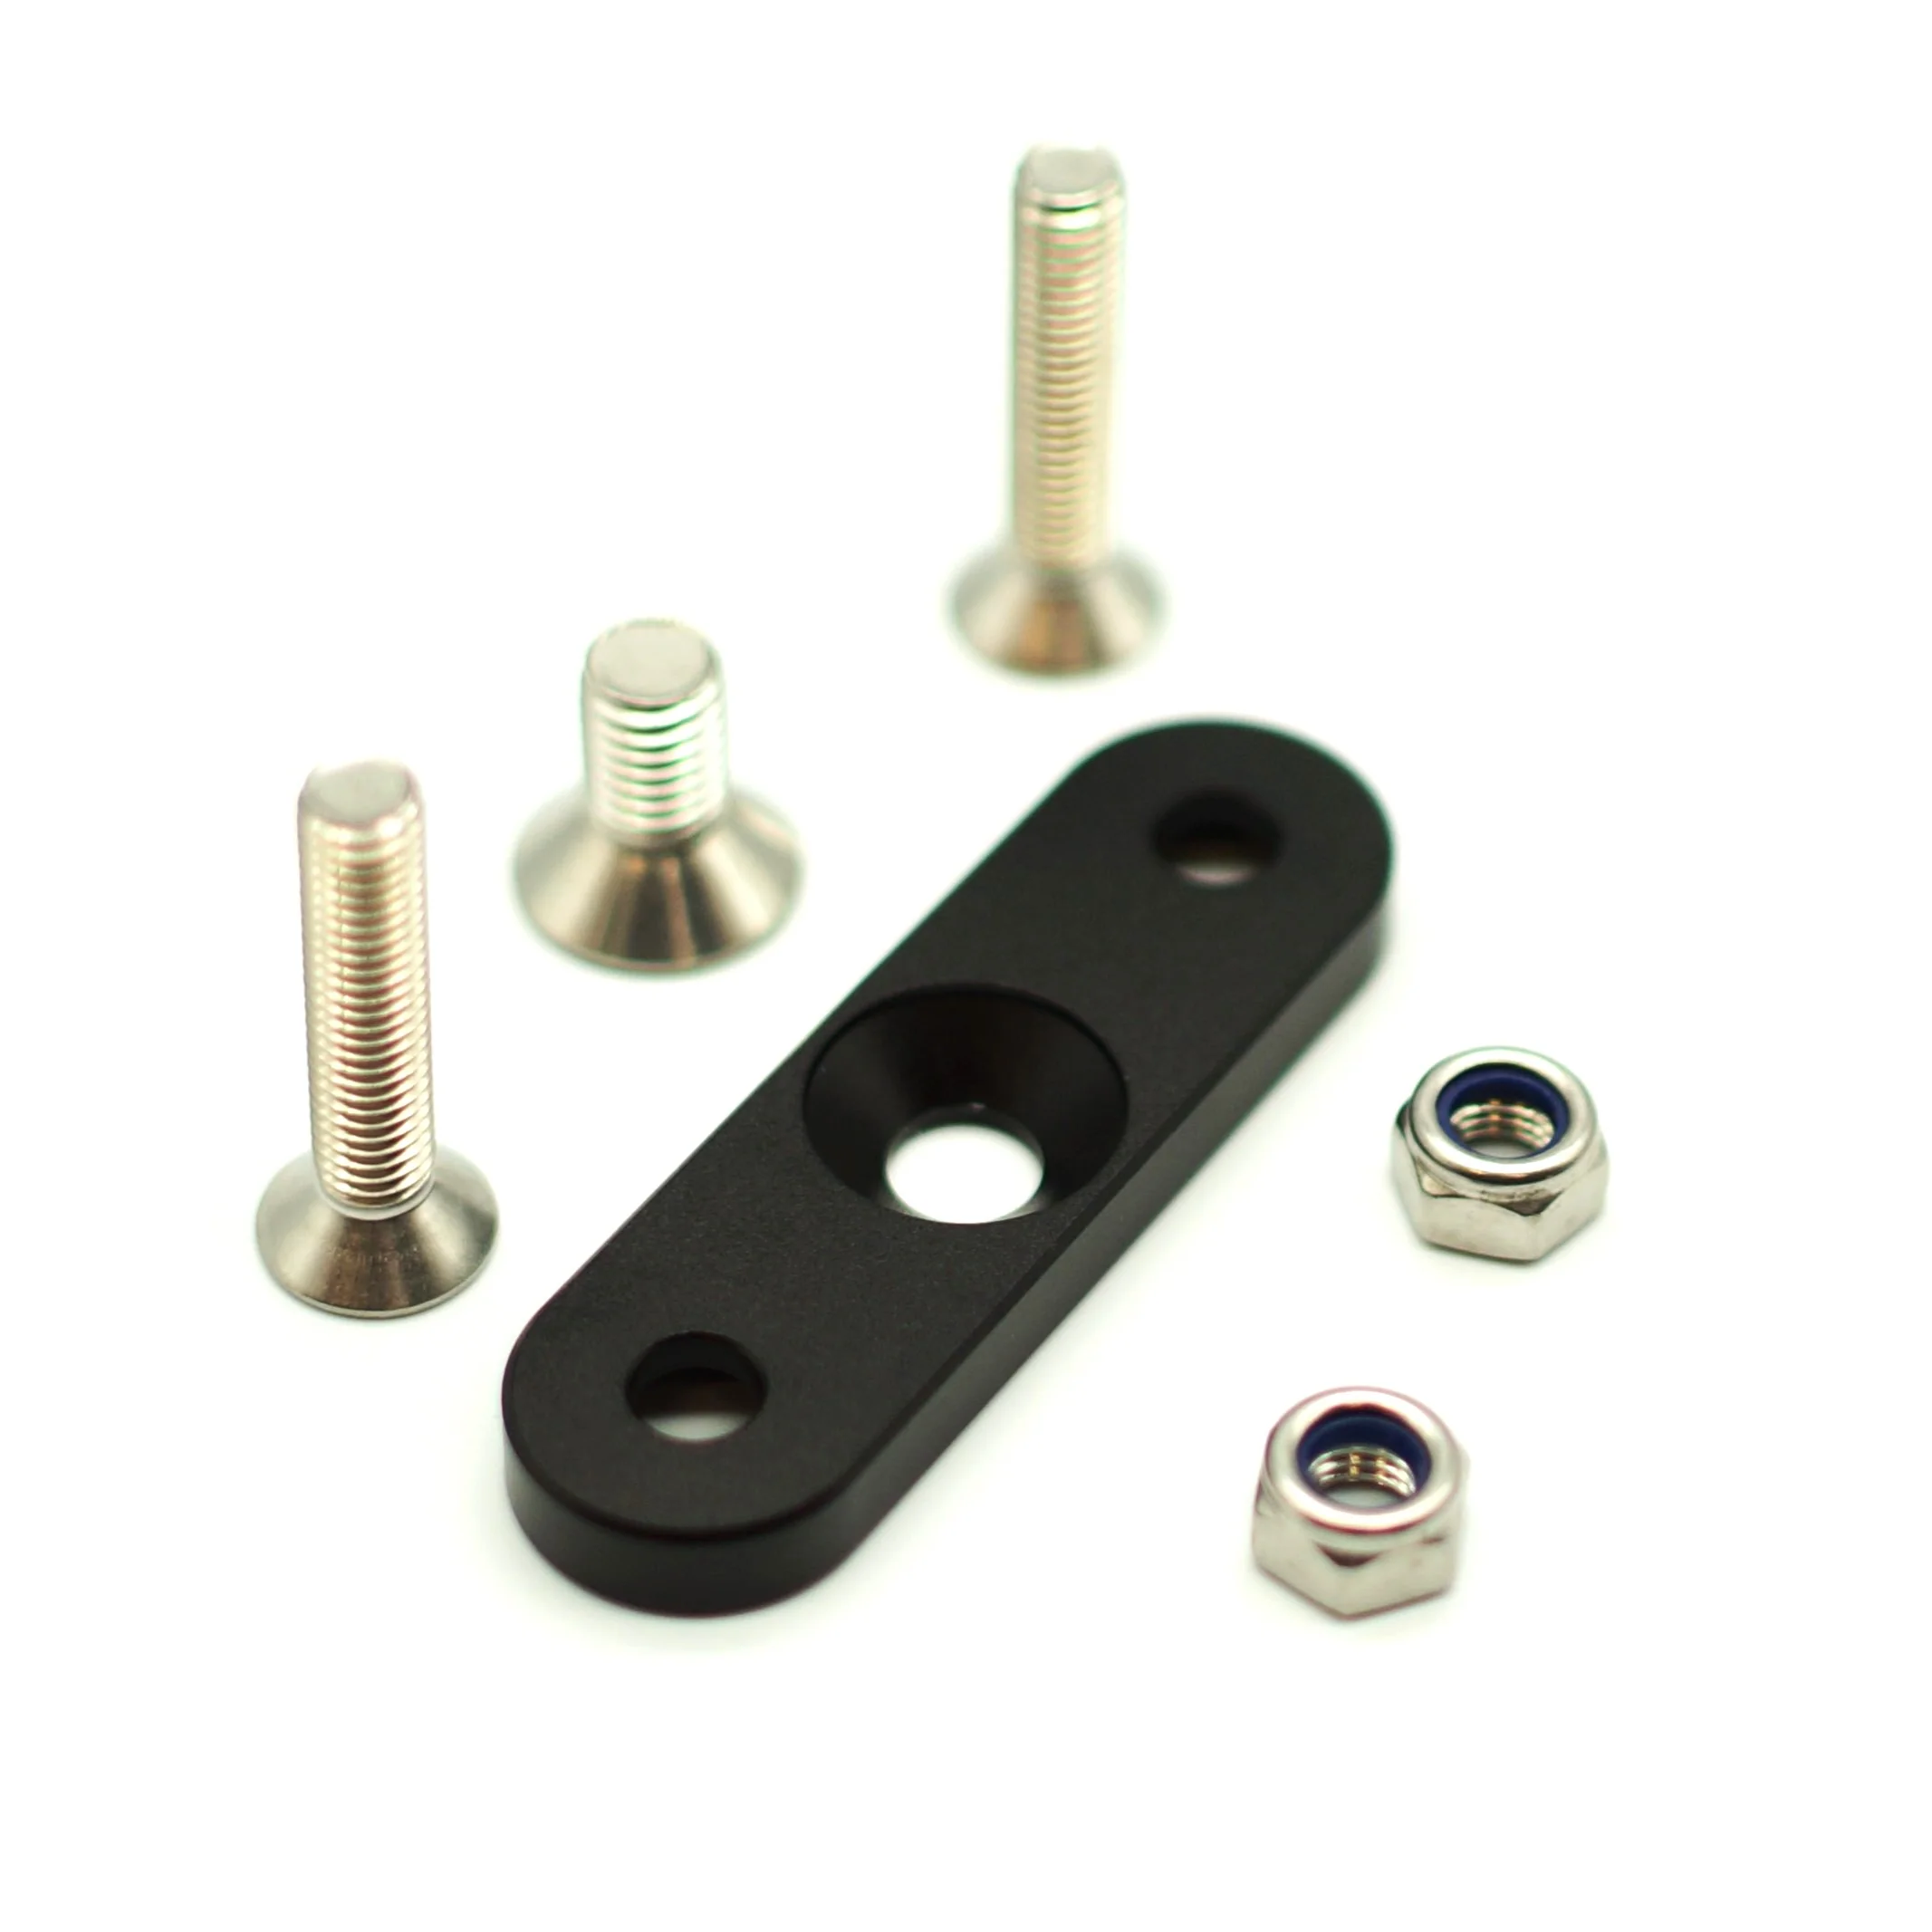
- Mounting support bracket
Available options:
- Kit only — carburettor and manifold included, for those who already have their preferred air filter (Harley Sporster style filters only)
- With Velocity Stack —carburettor and manifold included + classic open velocity stack intake that looks great and sound incredible
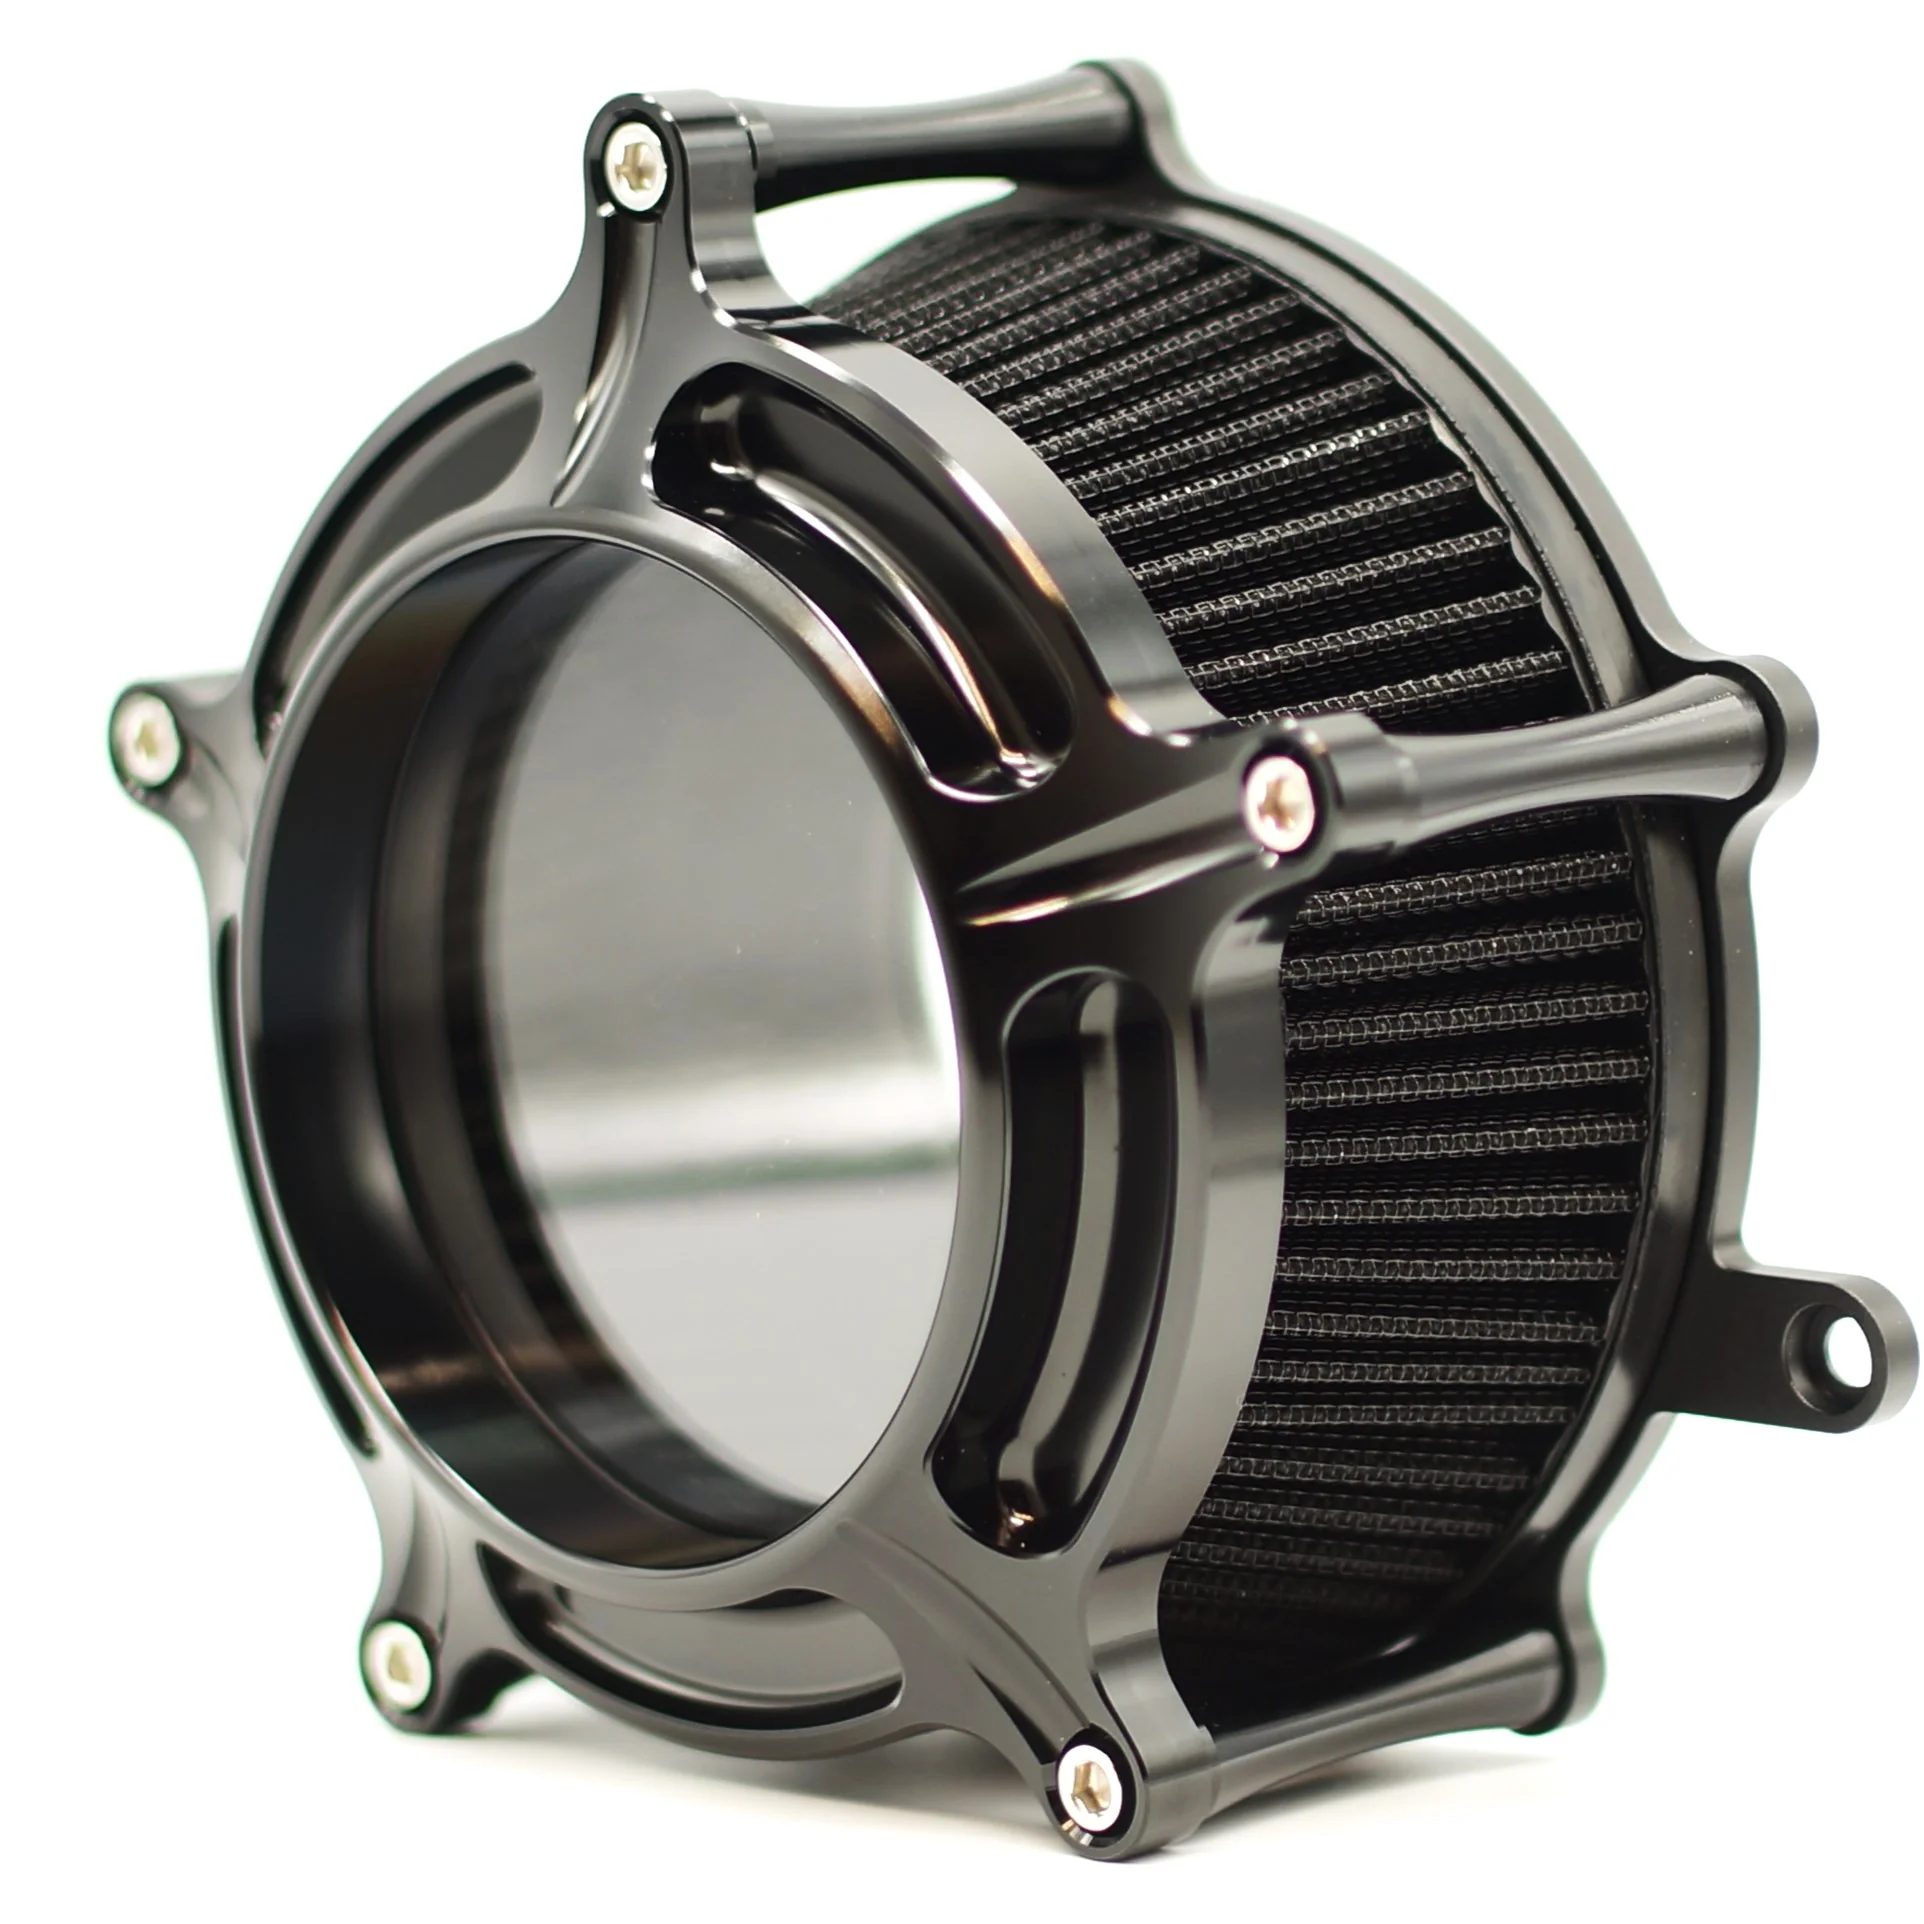
- With Tune Can Intake — carburettor and manifold included + our signature Tuna can-style filter, CNC-machined from aircraft-grade billet AL6061.
- Full Kit (Both Filters Included) — carburettor and manifold included + swap styles anytime between raw power velocity stack AND refined tuning with the Tuna can air filter
Each kit is engineered for straightforward installation, precise fitment, and improved throttle response. Built to last, built to perform — BILLION quality, made for riders who know the difference.
This kit allows you to use the stock OEM throttle cables, or our Rogue extended cable kit for easy installation!
Chrome carb top with integrated choke mount available seperately
ROGUE MOTORCYCLES SINGLE CV CARBURETOR INSTALLATION INSTRUCTIONS
The single CV caburetor conversion has been devoloped to work on the Yamaha XVS 650.
While it is completely possible to successfully install and tune this set up at home, this is a kit that will require an advanced understanding of mechanical troubleshooting and carburetor tuning. Due to this we highly recommend that the kit is installed by a qualified mechanic to avoid any migraines and hair loss.
Once the carburetor is installed it will need to be tuned by an experienced professional in order to ensure that the bike is running in an optimal state.
This guide is only to point you in the right direction if you are stuck. It is the customers reponsibility to ensure this modification is adequate for their bike and performance needs.
STEP 1: REMOVE TANK AND SEAT FROM THE BIKE
Check the resistance of the throttle position sensor at idle position and wide open throttle position. Record these readings as you will need them to make sure the sensor is in the correct position when you reinstall it on your new carburetor.
STEP 2: DISCONNECT THROTTLE CABLES FROM STOCK CARBURETORS
STEP 3: REMOVE STOCK AIRBOX, CARBURETORS, FUEL LINES, FUEL PUMP AND INTAKE BOOTS. DISCONNECT AND REMOVE THE THROTTLE POSITION SENSOR
STEP 4: INSTALL THE INTAKE
Fit the boots supplied in the kit to the provided intake manifold, rubber grease may be required to have the boots slide over the intake manifold properly. Do not tighten the clamps on the intake until the intake boots are fastened to the heads.
STEP 5: PREPARE THE CARBURETOR FOR INSTALLATION
This can be done after the carburetor is installed but is easier done on the bench. Remove float bowl and change the jets: Pilot size 52, main size 180. Install the choke cable and mixture quick-adjustment screw. Turn the idle screw most of the way in. Turning the mixture screw 4 – 4.5 turns out should get you in the ballpark for an easy start. Install throttle position sensor off your old set up (wiring may need extending to reach the new CV carb).
STEP 6: INSTALL THE CARBURETOR
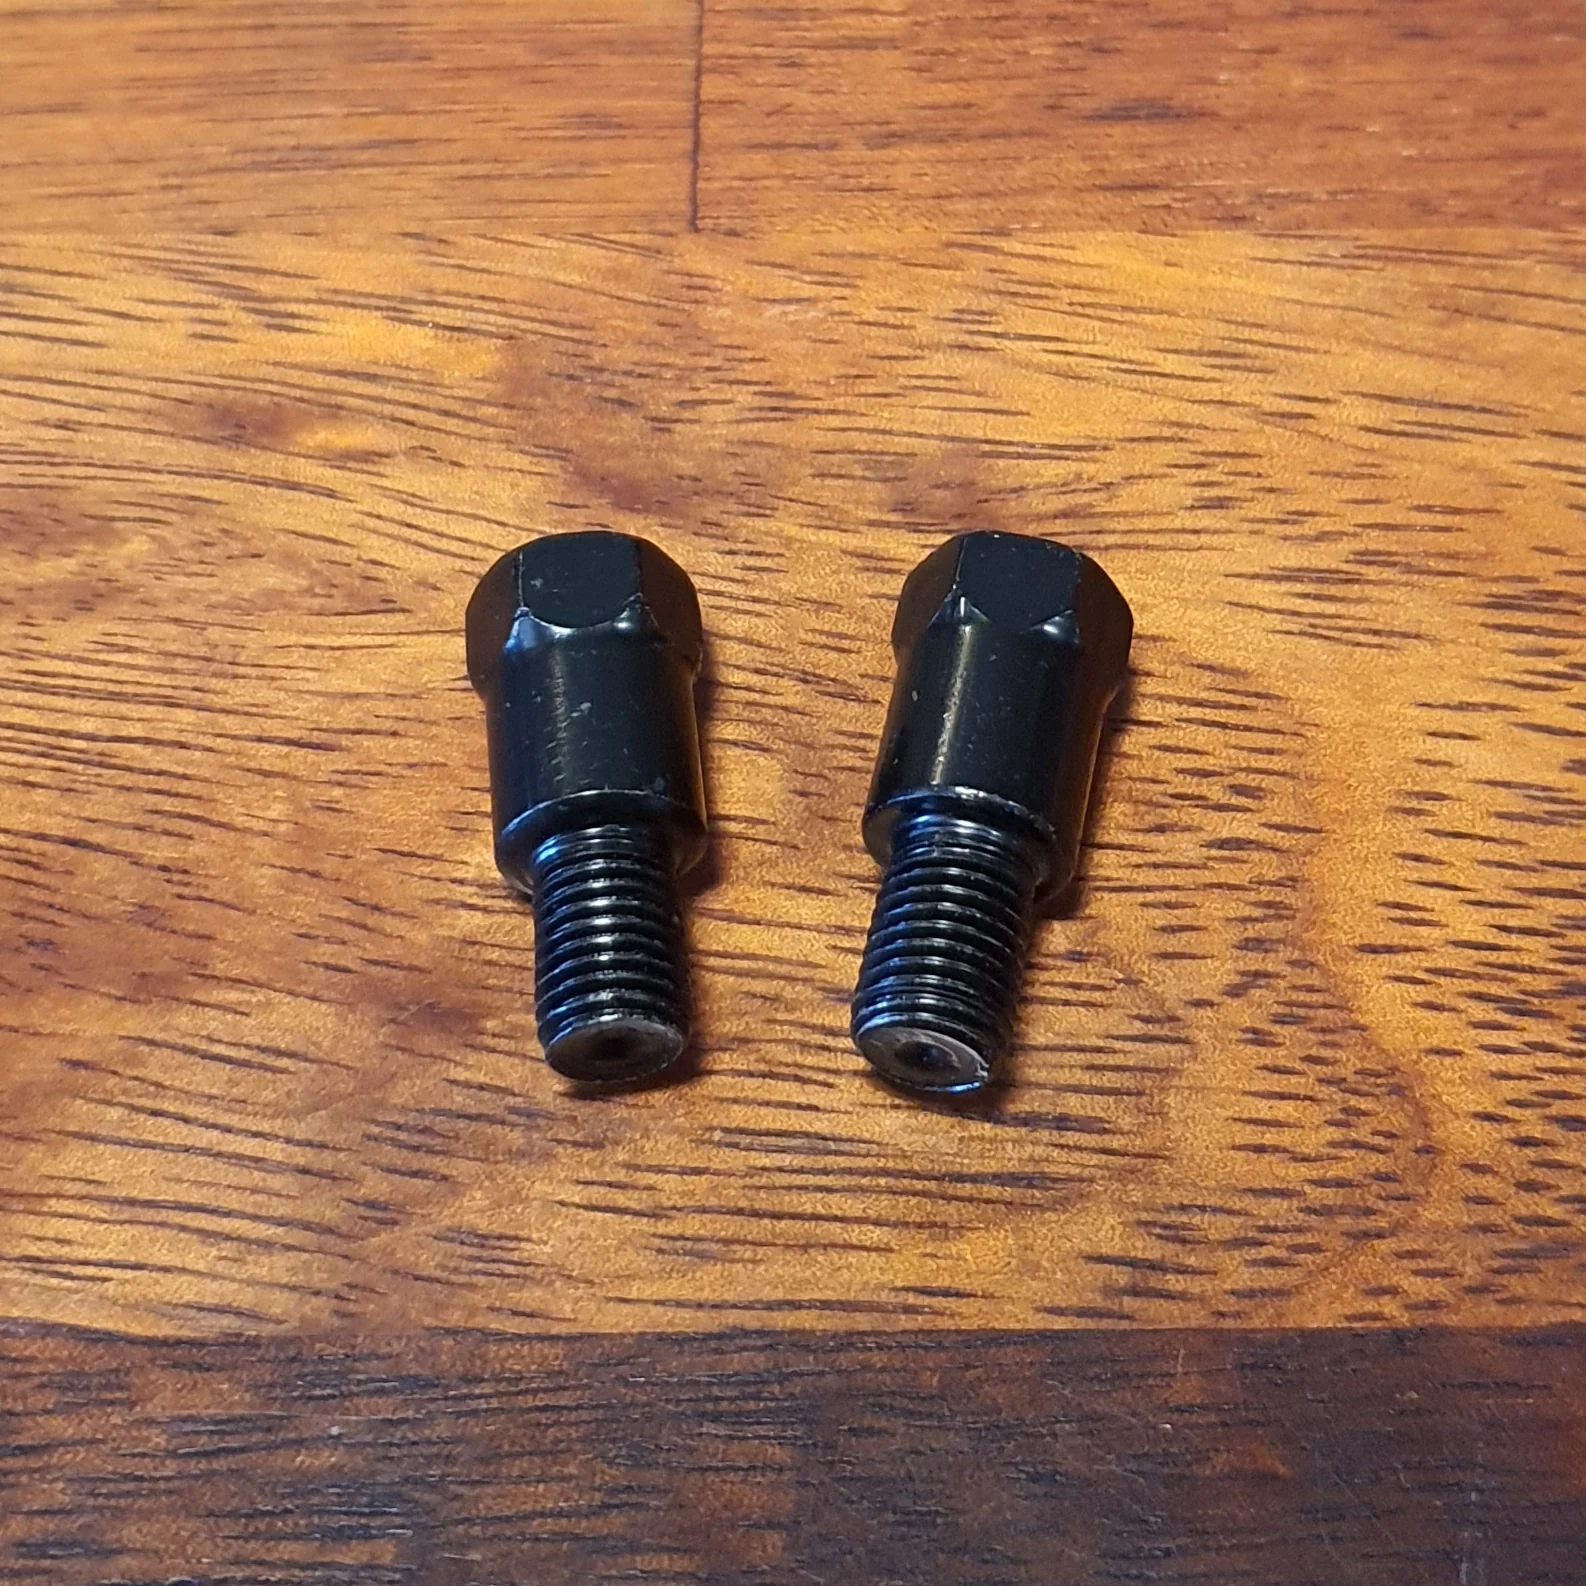
Install the carburetor on the intake manifold using the section of rubber hose and two hose clamps provided. Plug in the throttle position sensor. Mount the stainless bracket included to the stock intake mount on the front cylinder and to the throttle cable mount bracket to support the carburetor.
STEP 7: INSTALL THE THROTTLE CABLES AND FUEL HOSES
Connect the throttle cables to the carburetor, run fuel line from the tank to carburetor. It is recommended to install an in-line fuel filter (not supplied). Run the small fuel hose supplied off of the float bowl overflow.
STEP 8: START THE BIKE AND DIAL IN THE TUNE
With the carburetor adjusted as previously described the bike should fire relatively easy and require only minor mixture and idle adjustments to obtain smooth running conditions. There are multiple variables regarding exhaust, filter choice, and air density which may require further tuning and possible rejetting.
Before riding your bike, it is important to ensure all parts have been reinstalled correctly and are working as they should. Failure to safely modify a vehicle could result in injury or death.
IF YOU NEED FURTHER INSTRUCTION WHEN FITTING THIS KIT, PLEASE CONTACT US.
(08) 9322 7788 OR [email protected]
THANK YOU FOR YOUR SUPPORT!
Original: $699.00
-70%$699.00
$209.70More Images


Yamaha XVS 650 V-star CV40 Single carb kit
BILLION — XVS 650 V-Star Single Carb Conversion Kit
Simplify your setup and unlock smoother performance with our CV40 single carb conversion kit for the Yamaha XVS 650 (V-Star / Dragstar). Designed for riders chasing reliability, power, and a cleaner look, this kit replaces the factory dual-carb system with a single, precision-tuned setup.
POWER GAINS:
- Stock OEM xvs650 32HP (OEM TWIN CARB)
- Tuned twin carb power gain 35HP (9% increase)
- Our CV40 single carb kit 38HP (18% increase!)
The kit includes an adapter bracket to mount your TPS (throttle positioning sensor) onto the new CV40 carb for smooth throttle response
Our Single carb kit includes:
- CV40 style carburetor
- 3D printed aluminium intake manifold
- TPS adapter bracket (throttle positioning sensor) AL6061
- Rubber boots and clamps
- Connection hose and clamps
- Main jets; 175, 180, 185, 190
- Pilot jets; 40, 42, 45, 48, 52
- Mixture ‘Quick-Adjustment’ screw
- Choke cable
- Fuel hoses
- Mounting support bracket
Available options:
- Kit only — carburettor and manifold included, for those who already have their preferred air filter (Harley Sporster style filters only)
- With Velocity Stack —carburettor and manifold included + classic open velocity stack intake that looks great and sound incredible
- With Tune Can Intake — carburettor and manifold included + our signature Tuna can-style filter, CNC-machined from aircraft-grade billet AL6061.
- Full Kit (Both Filters Included) — carburettor and manifold included + swap styles anytime between raw power velocity stack AND refined tuning with the Tuna can air filter
Each kit is engineered for straightforward installation, precise fitment, and improved throttle response. Built to last, built to perform — BILLION quality, made for riders who know the difference.
This kit allows you to use the stock OEM throttle cables, or our Rogue extended cable kit for easy installation!
Chrome carb top with integrated choke mount available seperately
ROGUE MOTORCYCLES SINGLE CV CARBURETOR INSTALLATION INSTRUCTIONS
The single CV caburetor conversion has been devoloped to work on the Yamaha XVS 650.
While it is completely possible to successfully install and tune this set up at home, this is a kit that will require an advanced understanding of mechanical troubleshooting and carburetor tuning. Due to this we highly recommend that the kit is installed by a qualified mechanic to avoid any migraines and hair loss.
Once the carburetor is installed it will need to be tuned by an experienced professional in order to ensure that the bike is running in an optimal state.
This guide is only to point you in the right direction if you are stuck. It is the customers reponsibility to ensure this modification is adequate for their bike and performance needs.
STEP 1: REMOVE TANK AND SEAT FROM THE BIKE
Check the resistance of the throttle position sensor at idle position and wide open throttle position. Record these readings as you will need them to make sure the sensor is in the correct position when you reinstall it on your new carburetor.
STEP 2: DISCONNECT THROTTLE CABLES FROM STOCK CARBURETORS
STEP 3: REMOVE STOCK AIRBOX, CARBURETORS, FUEL LINES, FUEL PUMP AND INTAKE BOOTS. DISCONNECT AND REMOVE THE THROTTLE POSITION SENSOR
STEP 4: INSTALL THE INTAKE
Fit the boots supplied in the kit to the provided intake manifold, rubber grease may be required to have the boots slide over the intake manifold properly. Do not tighten the clamps on the intake until the intake boots are fastened to the heads.
STEP 5: PREPARE THE CARBURETOR FOR INSTALLATION
This can be done after the carburetor is installed but is easier done on the bench. Remove float bowl and change the jets: Pilot size 52, main size 180. Install the choke cable and mixture quick-adjustment screw. Turn the idle screw most of the way in. Turning the mixture screw 4 – 4.5 turns out should get you in the ballpark for an easy start. Install throttle position sensor off your old set up (wiring may need extending to reach the new CV carb).
STEP 6: INSTALL THE CARBURETOR
Install the carburetor on the intake manifold using the section of rubber hose and two hose clamps provided. Plug in the throttle position sensor. Mount the stainless bracket included to the stock intake mount on the front cylinder and to the throttle cable mount bracket to support the carburetor.
STEP 7: INSTALL THE THROTTLE CABLES AND FUEL HOSES
Connect the throttle cables to the carburetor, run fuel line from the tank to carburetor. It is recommended to install an in-line fuel filter (not supplied). Run the small fuel hose supplied off of the float bowl overflow.
STEP 8: START THE BIKE AND DIAL IN THE TUNE
With the carburetor adjusted as previously described the bike should fire relatively easy and require only minor mixture and idle adjustments to obtain smooth running conditions. There are multiple variables regarding exhaust, filter choice, and air density which may require further tuning and possible rejetting.
Before riding your bike, it is important to ensure all parts have been reinstalled correctly and are working as they should. Failure to safely modify a vehicle could result in injury or death.
IF YOU NEED FURTHER INSTRUCTION WHEN FITTING THIS KIT, PLEASE CONTACT US.
(08) 9322 7788 OR [email protected]
THANK YOU FOR YOUR SUPPORT!
Product Information
Product Information
Shipping & Returns
Shipping & Returns
Description
BILLION — XVS 650 V-Star Single Carb Conversion Kit
Simplify your setup and unlock smoother performance with our CV40 single carb conversion kit for the Yamaha XVS 650 (V-Star / Dragstar). Designed for riders chasing reliability, power, and a cleaner look, this kit replaces the factory dual-carb system with a single, precision-tuned setup.
POWER GAINS:
- Stock OEM xvs650 32HP (OEM TWIN CARB)
- Tuned twin carb power gain 35HP (9% increase)
- Our CV40 single carb kit 38HP (18% increase!)
The kit includes an adapter bracket to mount your TPS (throttle positioning sensor) onto the new CV40 carb for smooth throttle response
Our Single carb kit includes:
- CV40 style carburetor
- 3D printed aluminium intake manifold
- TPS adapter bracket (throttle positioning sensor) AL6061
- Rubber boots and clamps
- Connection hose and clamps
- Main jets; 175, 180, 185, 190
- Pilot jets; 40, 42, 45, 48, 52
- Mixture ‘Quick-Adjustment’ screw
- Choke cable
- Fuel hoses
- Mounting support bracket
Available options:
- Kit only — carburettor and manifold included, for those who already have their preferred air filter (Harley Sporster style filters only)
- With Velocity Stack —carburettor and manifold included + classic open velocity stack intake that looks great and sound incredible
- With Tune Can Intake — carburettor and manifold included + our signature Tuna can-style filter, CNC-machined from aircraft-grade billet AL6061.
- Full Kit (Both Filters Included) — carburettor and manifold included + swap styles anytime between raw power velocity stack AND refined tuning with the Tuna can air filter
Each kit is engineered for straightforward installation, precise fitment, and improved throttle response. Built to last, built to perform — BILLION quality, made for riders who know the difference.
This kit allows you to use the stock OEM throttle cables, or our Rogue extended cable kit for easy installation!
Chrome carb top with integrated choke mount available seperately
ROGUE MOTORCYCLES SINGLE CV CARBURETOR INSTALLATION INSTRUCTIONS
The single CV caburetor conversion has been devoloped to work on the Yamaha XVS 650.
While it is completely possible to successfully install and tune this set up at home, this is a kit that will require an advanced understanding of mechanical troubleshooting and carburetor tuning. Due to this we highly recommend that the kit is installed by a qualified mechanic to avoid any migraines and hair loss.
Once the carburetor is installed it will need to be tuned by an experienced professional in order to ensure that the bike is running in an optimal state.
This guide is only to point you in the right direction if you are stuck. It is the customers reponsibility to ensure this modification is adequate for their bike and performance needs.
STEP 1: REMOVE TANK AND SEAT FROM THE BIKE
Check the resistance of the throttle position sensor at idle position and wide open throttle position. Record these readings as you will need them to make sure the sensor is in the correct position when you reinstall it on your new carburetor.
STEP 2: DISCONNECT THROTTLE CABLES FROM STOCK CARBURETORS
STEP 3: REMOVE STOCK AIRBOX, CARBURETORS, FUEL LINES, FUEL PUMP AND INTAKE BOOTS. DISCONNECT AND REMOVE THE THROTTLE POSITION SENSOR
STEP 4: INSTALL THE INTAKE
Fit the boots supplied in the kit to the provided intake manifold, rubber grease may be required to have the boots slide over the intake manifold properly. Do not tighten the clamps on the intake until the intake boots are fastened to the heads.
STEP 5: PREPARE THE CARBURETOR FOR INSTALLATION
This can be done after the carburetor is installed but is easier done on the bench. Remove float bowl and change the jets: Pilot size 52, main size 180. Install the choke cable and mixture quick-adjustment screw. Turn the idle screw most of the way in. Turning the mixture screw 4 – 4.5 turns out should get you in the ballpark for an easy start. Install throttle position sensor off your old set up (wiring may need extending to reach the new CV carb).
STEP 6: INSTALL THE CARBURETOR
Install the carburetor on the intake manifold using the section of rubber hose and two hose clamps provided. Plug in the throttle position sensor. Mount the stainless bracket included to the stock intake mount on the front cylinder and to the throttle cable mount bracket to support the carburetor.
STEP 7: INSTALL THE THROTTLE CABLES AND FUEL HOSES
Connect the throttle cables to the carburetor, run fuel line from the tank to carburetor. It is recommended to install an in-line fuel filter (not supplied). Run the small fuel hose supplied off of the float bowl overflow.
STEP 8: START THE BIKE AND DIAL IN THE TUNE
With the carburetor adjusted as previously described the bike should fire relatively easy and require only minor mixture and idle adjustments to obtain smooth running conditions. There are multiple variables regarding exhaust, filter choice, and air density which may require further tuning and possible rejetting.
Before riding your bike, it is important to ensure all parts have been reinstalled correctly and are working as they should. Failure to safely modify a vehicle could result in injury or death.
IF YOU NEED FURTHER INSTRUCTION WHEN FITTING THIS KIT, PLEASE CONTACT US.
(08) 9322 7788 OR [email protected]
THANK YOU FOR YOUR SUPPORT!